Create a VM with the Openstack dashboard
Create instance
Go to the Compute menu, select Instances and click 
In the first screen, choose your instance name and optionaly the number of VMs you want to create.
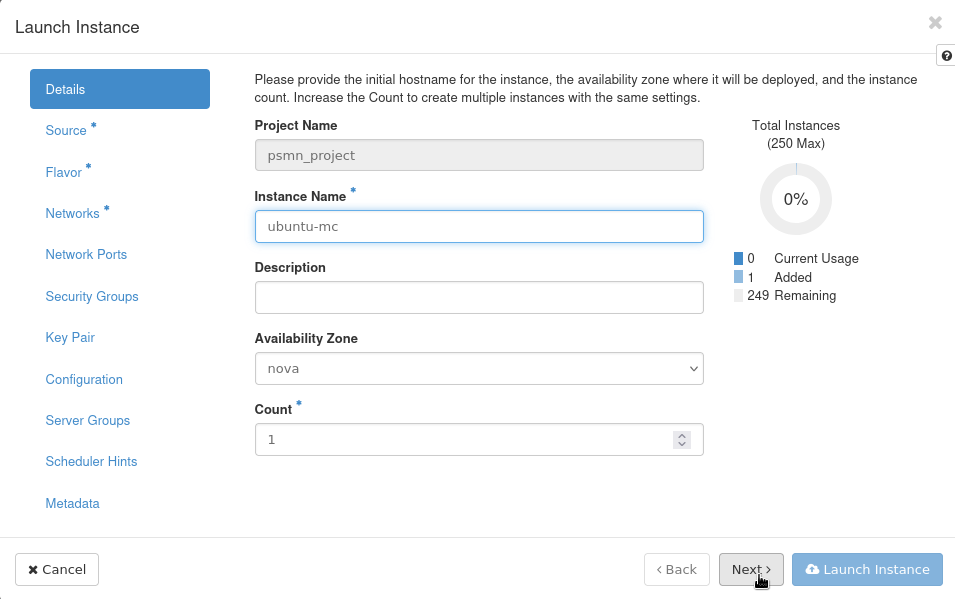
Click 
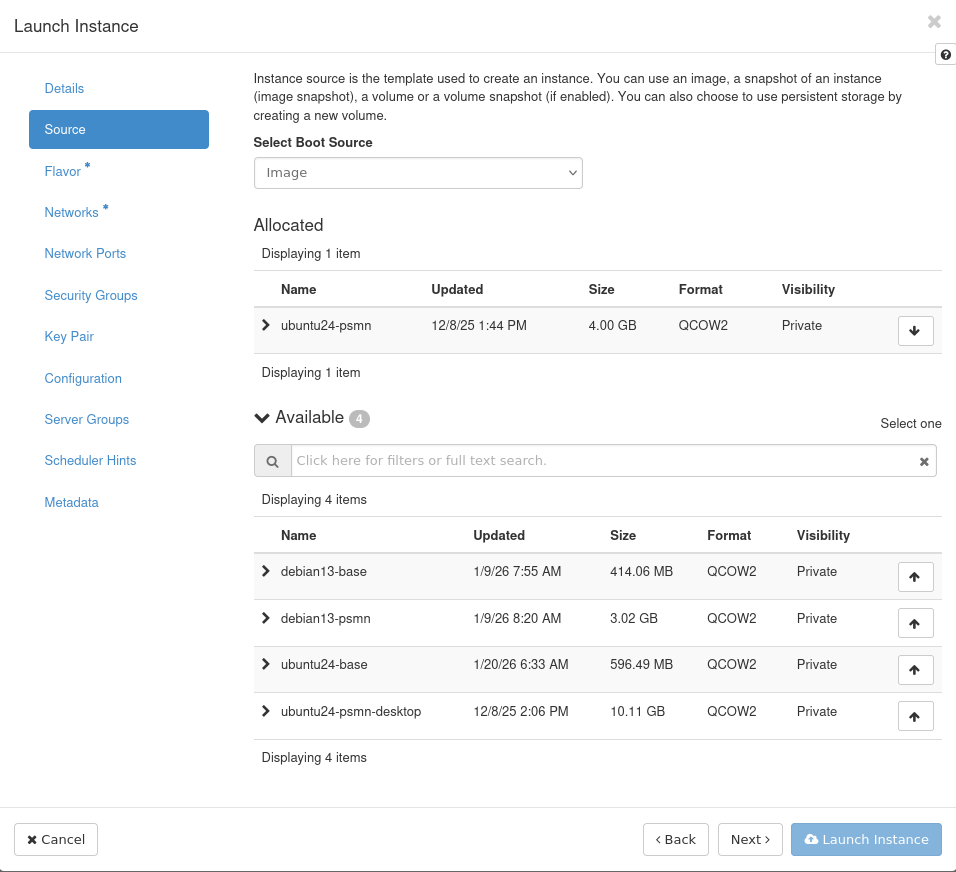
Then select the image you want to deploy by clicking ![]() (see image list)
(see image list)
Click and select a flavor with ![]() (see flavor list)
(see flavor list)
Click and select psmn-internal network
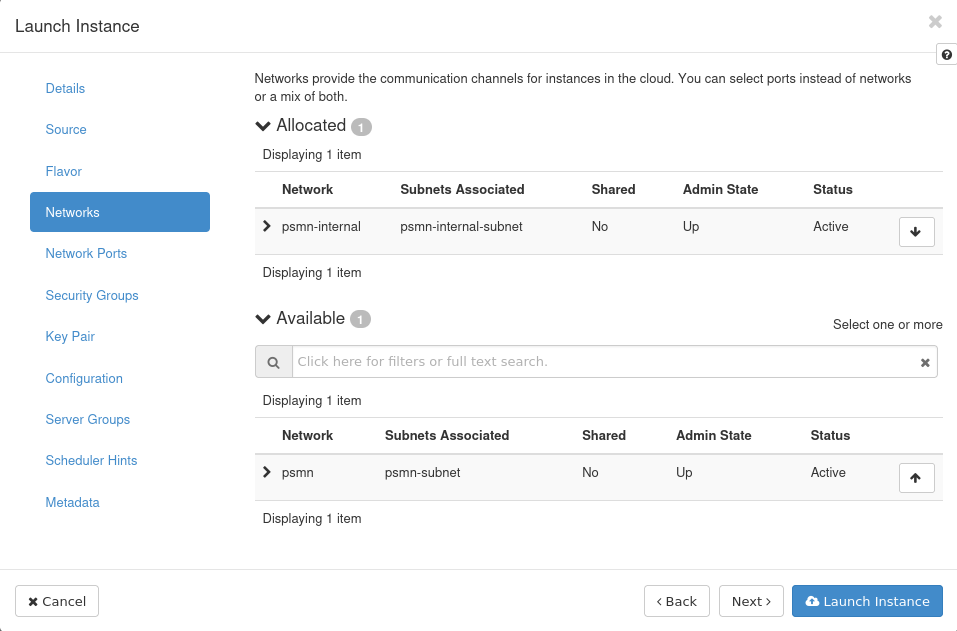
Important
Selecting psmn-internal is mandatory. Nothing will work if you chose another network.
Finally click 
Wait a few moments until the status become Active (you may have to refresh the page)

Add floating IP
You need to associate a floating IP address to your VM, so that you’ll be able to reach it from the PSMN network.
Step 1: ensure that a floating IP address is available
In the Network menu, select Floating IPs
You can see all the floating IPs associated to your project. If a floating IPs is available, the  button is visible in the Actions row.

If there is no available floating IP, or if the list is empty, you need to create one (see Step 2).
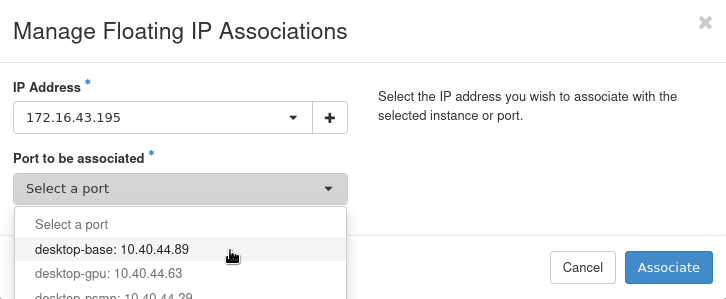
Otherwise, click . In the pop-up select the VM to which you want to assign a floating IP, and click 
You can now connect to your VM (see Connection to an Openstack VM)
Step 2: Create a floating IP
If there is no IP available, you need to create one.
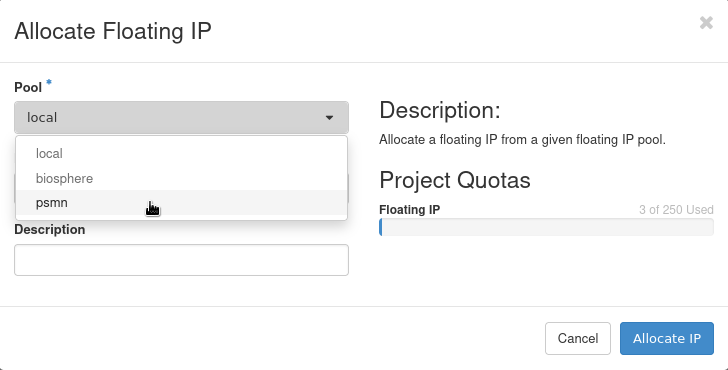
In the Network menu, select Floating IPs and click  . Select
 psmn and click 
You can now associate the IP to your VM (see Step 1)
Warning
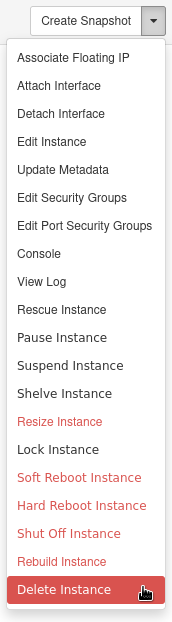
Don’t forget to delete your VM once you no longer need it.